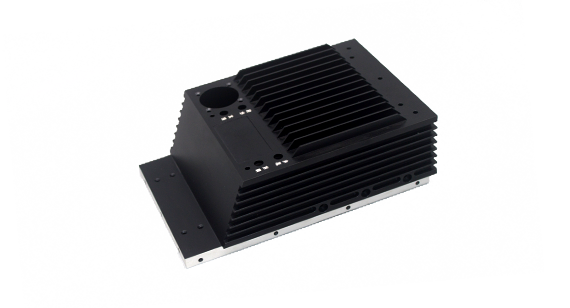
Surface-mechanical treatment guidelines
Our basic guidelines for mechanical surface treatment include important design considerations to help improve the manufacturability of parts, improve appearance and reduce overall production time.
Size
Maximum size
| Normal resolution | 80 cm x 60cm x 30 cm |
|---|
| Normal resolution | 800mm x 600mm x 300mm |
|---|

Accuracy
Layer thickness
| Normal resolution | 0.005~0.01 cm |
|---|---|
| Precision resolution | 0.002~0.005 cm |
| Normal resolution | 0.05~0.1 mm |
|---|---|
| Precision resolution | 0.02~0.05 mm |
Minimum feature size
| Normal resolution | 0.0254 cm |
|---|---|
| Precision resolution | 0.01016 cm |
| Normal resolution | 0.254 mm |
|---|---|
| Normal resolution | 0.1016 mm |
For well-designed parts, the tolerance of the first centimeter is ±0.1mm, plus ±0.001 cm/cm. Usually every additional centimeter can reach (0.001mm / mm). Please note that tolerances may vary based on the geometry of the part.
The smallest freestanding wall or feature is 0.76mm. For holes with a diameter/width less than 0.76mm, channels and slots will not be formed; the maximum aspect ratio is 4:1.
The influence of machine performance on the surface quality of CNC machining
In the mechanical properties, the actual contact area is much smaller than the theoretical contact area. There is a large unit stress on the contact parts, which makes the plastic deformation, elastic deformation and shear failure between the peaks appear in the actual contact area, which leads to serious wear.
The meaning of parts machining and smoothing h5>
Before the surface processing of magnesium alloy parts, it is necessary to pre-treat collectively. If the surface of magnesium and alloy parts is rough, it will be difficult to meet the requirements of smoothness even if it is polished.


