Product-Accuracy Testing
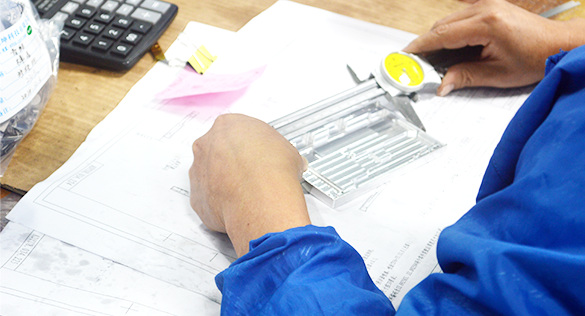
In the processing of products, the quality and accuracy of the products have always been the top priority. Therefore, it is very important to do a good job in product inspection. The precision testing of Greenbat Technology includes precision instrument testing, three-dimensional, two-dimensional, micrometer, caliper, altimeter, etc.
Three-dimensional metal parts inspection
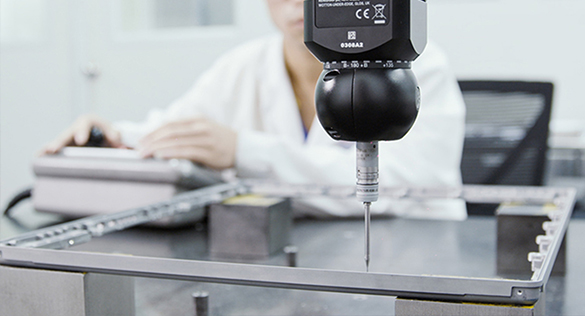
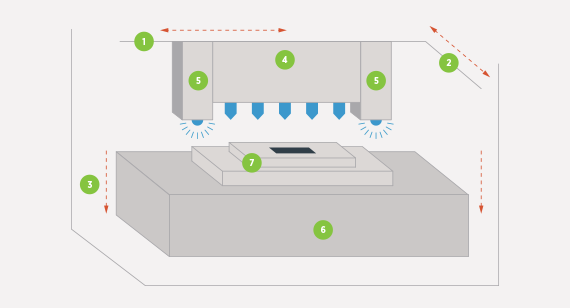
Three-dimensional metal parts. The measurement principle is to use a probe (most of which has a ruby ball at the end) to collide with the edge of the workpiece to obtain the coordinate value of the position, and then subtract the radius of the probe to obtain the actual coordinate of the workpiece value.
Generally, the three axes of the measuring instrument are equipped with an optical ruler. When the probe touches the workpiece, it will send a signal to capture the target coordinate value, and then through the measurement software calculation process, we can calculate the coordinate value or size we want

- Fastest delivery within 1 day
- Real-time quotation of precision inspection parts
- Precision meter, altimeter
- Three-dimensional, two-dimensional
- Micrometer, caliper
Three-dimensional
Accurately measure the size, angle, shape and position of various workpieces, as well as various parameters of threaded parts. It is suitable for machine manufacturing, precision engineering, mold manufacturing, instrument and meter manufacturing, electronics, industry measurement rooms, mechanical parts, measuring tools, Quality inspection and comparison of knives, fixtures, dies, stamping parts and metal products.
Precision
Machining accuracy refers to the degree to which the actual geometric parameters (size, shape, and position) of the part after machining conform to the ideal geometric parameters. The difference between them is called machining error. The size of the machining error reflects the level of machining accuracy. The greater the error, the lower the machining accuracy, and the smaller the error, the higher the machining accuracy.
Testing criteria
Data resources
Industrial 3D printing for dummy
PolyJet 3D printing design
Explore manufacturing options for flexible components
What is additive manufacturing

